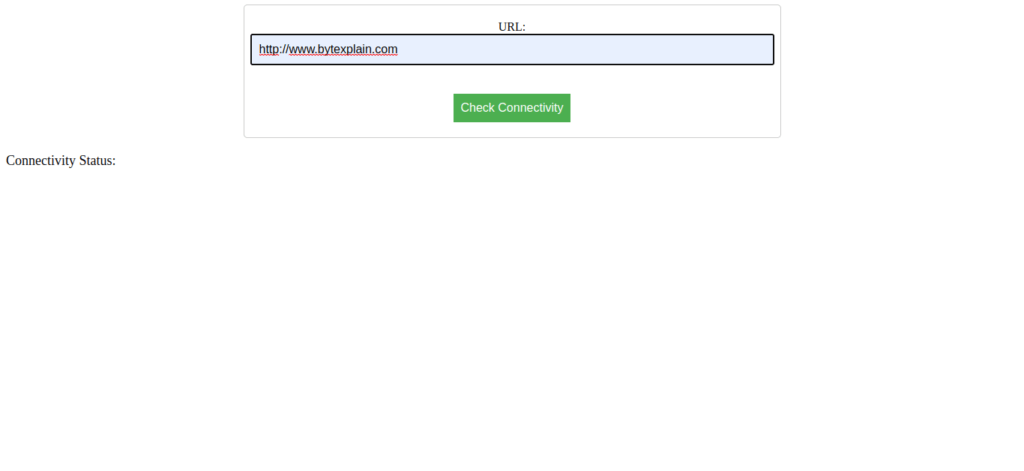
In this tutorial, we will be building a site connectivity app that checks the availability of a certain website. You can use it to know if a certain site is accessible or not.
We will be using two libraries for this project, flask, and requests. Flask is a web development framework used to build websites while requests is a library for making http requests. To know more about requests visit here. You can also learn more about flask from their official documentation here. To install the above libraries run the following commands.
pip3 install flaskpip3 install requests Now create a folder called site-connectivity. YOu can call it anything you like. Inside the folder create a file called app.py. Create a folder called templates and add a file called index.html.
Inside the app.py file import the following modules.
import requests
from flask import Flask, render_template, request
Now let’s initialize the app as shown below.
app = Flask(__name__)Now let’s create a function to handle the site connectivity logic.
@app.route('/', methods=['GET', 'POST'])
def check_connectivity():
    connectivity_status = "unknown"

    if request.method == 'POST':
        url = request.form['url']

        try:
            response = requests.get(url)

            if response.status_code == 200:
                connectivity_status = "accessible"
            else:
                connectivity_status = f"not accessible (status code: {response.status_code})"
        except Exception as e:
            connectivity_status = f"not accessible ({e})"

        return render_template("index.html", connectivity_status=connectivity_status)
    else:
        return render_template("index.html")
The above function receives a url from a html form in the front end and the url is checked for connectivity using the requests module. HTTP status code 200 signifies that the request was successful, so if the url returns a 200 status response code the website with the url is accessible and running well if otherwise the site has some connectivity issues.
Now let’s create a template for our view. Inside the index.html add the following.
<!doctype html>
<html>
  <head>
    <title>Connectivity Checker</title>
  </head>
  <body>
    <form method="post">
      <label for="url">URL:</label>
      <input type="text" name="url" id="url" placeholder="http://google.com">
      <br>
      <input type="submit" value="Check Connectivity">
    </form>
    <p>Connectivity Status: {{ connectivity_status }}</p>
  </body>
</html>
The above code asks the user for a url to be tested and then returns the response.
Now add the following in the app.py .
if __name__ == '__main__':
    app.run()
Now it’s time to start the server. To do so run the command below.
python3 app.pyYou can also use the command below.
flask runTo access the app open your browser and enter the address below.
http://127.0.0.1:5000Your app should appear as shown below.

Now test all the website domains you want. There you have it. Thanks for reading.


