Introduction
In this tutorial, we will be building an application that generates random dog pictures. For this tutorial, we will be using an API available here. We will be using Flask as our server and requests library to make HTTP requests.
Table of Contents
Install modules
To begin we will need to install a few modules that are Flask and requests. To do so run the following command in your terminal.
pip3 install Flask

pip3 install requests
File structure
To begin let’s create a folder called dog-pics and inside create a folder called templates with a file index.html in it.
Import modules
Now in the dog-pics folder create a file called app.py and import the following modules as shown below.
from flask import Flask ,render_template
import requests
Initialize app
Now we need to initialize our application, to do so add the code below.
app = Flask(__name__)Create view
Now we need to create a view to handle the requests. Here is the code below.
@app.route('/')
def index():
    url =  "https://random.dog/woof.json"
    image = requests.get(url).json()
    return render_template("index.html",image=image)


if __name__ == "__main__":
    app.run(debug=True)
Create template
Now let’s create a template to display the generated image. In the index.html file created earlier add the code below.
<!DOCTYPE html>
<html lang="en">
<head>
    <meta charset="UTF-8">
    <meta http-equiv="X-UA-Compatible" content="IE=edge">
    <meta name="viewport" content="width=device-width, initial-scale=1.0">
    <title>Document</title>
</head>
<body>
    <style>
        div {
            text-align: center;
        }
        .title{
            text-align: center;
            color: black;
        }
        .dog-image{
            border-radius: 50%;
            object-fit: cover;
            max-width: 30%;
            max-height: 30%;
        }
    </style>
    <div class="title">
        <h2 class="title">
            Random Dog Picture
        </h2>
    </div>
    <div>
        <img src="{{ image['url'] }}" alt="" class="dog-image">
    </div>
</body>
</html>
Run
Now let’s start our server, to do so open your terminal and run the command below.
python3 app.pyResults
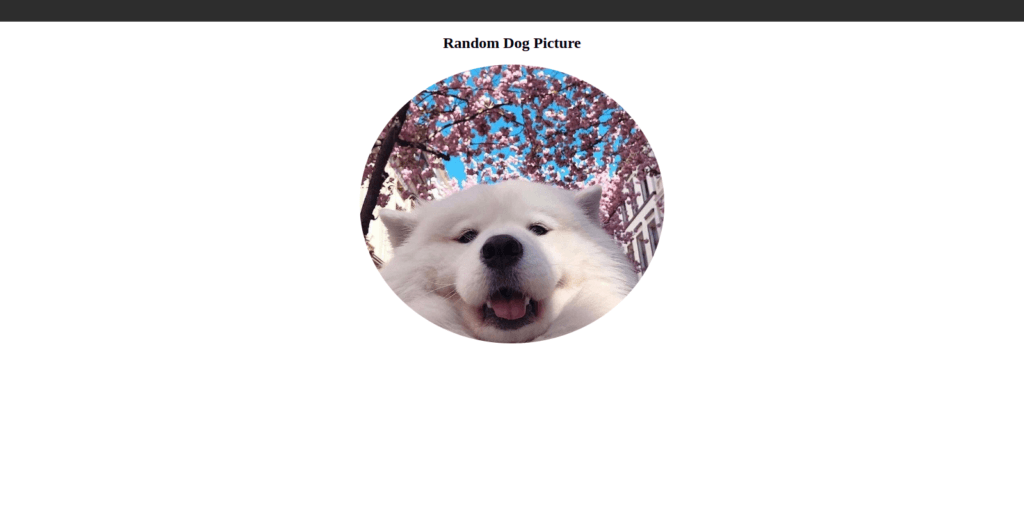
After running the server your application should be available at the address [ http://127.0.0.1:5000 ]. Here is the dog photo generated as shown below.
There you have it, Thanks for reading. Happy Coding.

